
Most homeowners have a list of things they want to improve. The list grows over time, priorities shift, and eventually the gap between the home you live in and the home you want feels both large and overwhelming.
The problem is rarely motivation. It is clarity. Too many options, too much conflicting advice, and too little guidance on which improvements actually make a meaningful difference versus which ones consume budget without producing results that match the investment.
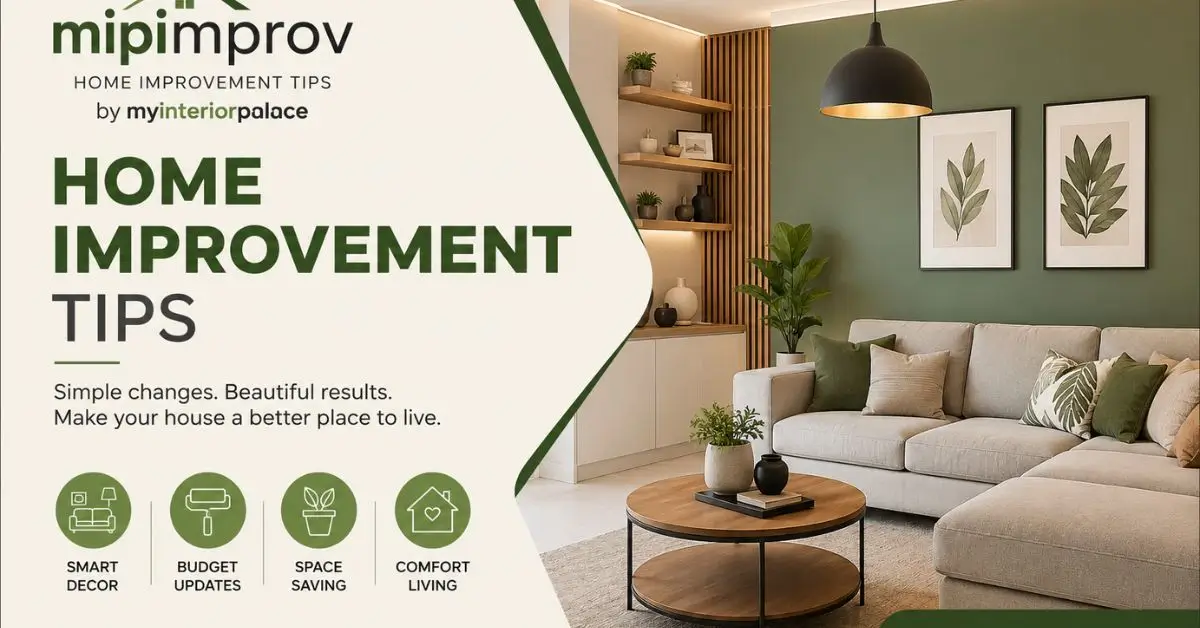
The mipimprov home improvement tips by myinteriorpalace cut through this problem with grounded, practical advice built around how spaces actually function and what specific changes produce predictable, lasting improvement. This guide covers those tips organized by room and improvement type, with honest implementation guidance and realistic cost context throughout.
Mipimprov home improvement tips by myinteriorpalace refers to the practical home improvement and interior design guidance from the combined mipimprov and myinteriorpalace platforms. These tips cover targeted improvements across every room in the home, including maintenance, cosmetic upgrades, functional enhancements, and design decisions that collectively improve how a home looks, feels, and functions in daily use without requiring professional renovation budgets.
The home improvement tips from mipimprov myinteriorpalace focus on practical changes that deliver real, visible results. Start with the improvements that address the most significant weaknesses in your most-used rooms. Lighting, fresh paint, updated hardware, and better organization consistently deliver the highest improvement per dollar across every room category. This guide covers specific tips for each main area with honest cost and difficulty context.
Before diving into specific room tips, the foundational principle behind mipimprov home improvement tips by myinteriorpalace is worth understanding because it changes how you approach every decision.
Most home improvement advice implicitly encourages accumulation. Buy more, add more, upgrade more. The mipimprov myinteriorpalace approach reverses this. The most impactful home improvements are almost always targeted, addressing specific weaknesses rather than adding generically.
A room with one significant functional or visual problem, solved, looks and feels dramatically better than a room with ten minor additions that do not address the core issue. This means assessing each room for its primary weakness before buying anything, then directing resources toward that specific problem before moving to secondary improvements.
This principle makes every tip in this guide more useful because you will apply it with the right question already in your mind: what is the actual problem this solves?
Establish lighting layers before adding anything else
The single most consistent finding in home improvement is that lighting quality affects how every other element in a room looks and feels. A room with flat overhead lighting and excellent furniture feels less inviting than a room with layered, warm lighting and basic furniture.
Adding a floor lamp in one corner, placing a table lamp on a side surface, and controlling the overhead light with a dimmer creates a room that can shift from bright and functional to warm and atmospheric with no additional purchases. This change costs $100 to $200 for quality additions and produces more daily improvement than most furniture upgrades.
Address furniture scale before aesthetics
Furniture that is the wrong scale for a room creates visual tension that cannot be resolved with accessories or paint. A sofa that is too large crowds the room. One that is too small makes the room feel unfinished. A rug that is too small for the seating arrangement is the most common single error in living room decoration.
The front legs of all main seating should sit on the rug. In most US living rooms, this means a minimum of 8 by 10 feet. Getting scale right costs no more than getting it wrong, but the visual result is dramatically different.
Create a single clear focal point
Every successful living room has one element that everything else organizes around. Arrange furniture to face and relate to this focal point rather than floating without direction or being pushed against the walls. The pushed-against-walls arrangement leaves an awkward empty center and removes the conversational intimacy that makes a living room comfortable.
Treat the bed as the room’s primary design investment
Everything else in a bedroom works in relation to the bed. Quality bedding in a considered color scheme, a headboard that gives the bed visual weight, and a bed sized appropriately for the room set the foundation for everything that follows.
High-quality cotton or linen bedding in a neutral tone layers well and creates a visual result most people associate with boutique hotel quality. This is one of the highest-return bedroom investments available because it affects both how the room looks and how it feels to be in it every day.
Hang curtains at ceiling height, not window frame height
This is among the most consistently impactful and least expensive tips in the entire mipimprov home improvement tips by myinteriorpalace collection. Hanging curtains two to four inches below the ceiling rather than at the top of the window frame elongates the visual height of the room, makes the ceiling feel taller, and windows feel larger.
The curtains cost the same. The rod costs the same. The visual transformation is significant.
Create bedside symmetry
Matched or closely coordinated bedside tables with matching lamps create visual balance that gives bedrooms their sense of calm and completion. Asymmetrical bedside setups, one tall, one short, one with a lamp, one without, read as unfinished regardless of how good the individual pieces are.
Declutter counters before any styling decision
Kitchen counters accumulate objects gradually. Most of what sits permanently on kitchen counters belongs in a cabinet. Removing everything and replacing only what is used daily is the most impactful kitchen improvement available at zero cost.
The clarity this creates is often more dramatic than a $2,000 backsplash installation. A kitchen where the counter is a work surface rather than a storage surface looks significantly more expensive and more intentional.
Replace cabinet hardware as a room-level upgrade
Cabinet pulls and knobs in kitchens are touched dozens of times daily and are among the most visible elements in the room. Outdated or low-quality hardware communicates neglect regardless of the surrounding quality. Replacing all kitchen hardware with consistent, current designs in a single finish costs $60 to $150 and takes an afternoon.
This is the improvement with the widest reach per dollar in any kitchen because it updates the visual quality of every cabinet simultaneously.
Add under-cabinet lighting for both function and atmosphere
Under-cabinet LED strips serve two purposes simultaneously. They improve task visibility during food preparation, which is a functional improvement, and they transform the kitchen atmosphere in the evening by creating warm light across the countertop, which is a visual improvement. Both purposes come from the same $30 to $80 installation.
Replace the mirror as the highest-priority bathroom upgrade
The builder-grade mirror in most bathrooms is a flat, unframed rectangle that communicates builder-grade quality regardless of everything else in the room. Replacing it with a frameless oversized mirror, a framed mirror in a complementary finish, or a backlit LED mirror changes the character of the bathroom immediately.
This upgrade costs $80 to $250 and requires only basic wall-mounting. Few bathroom changes deliver comparable visual impact per dollar.
Use a tray to organize and elevate counter items
A ceramic or marble tray on the bathroom counter containing hand soap, a small candle, and a simple plant creates a moment of visual intention in what is usually a purely functional space. Objects without a tray read as accumulated clutter. The same objects on a tray read as a deliberate styling choice. This costs $15 to $40 and requires no installation.
Towels as a consistent design element
Matching towels displayed consistently, whether folded on a towel bar or rolled in a basket, add color, texture, and the sense of quality associated with well-designed bathrooms. The cost is minimal and the effect is immediate.
| Improvement | Cost Range | Difficulty | Impact |
|---|---|---|---|
| Warm LED bulb replacement | $20 to $40 per room | Very Low | High |
| Switch plate replacement | $30 to $60 total | Very Low | Medium to High |
| Cabinet hardware replacement | $60 to $150 | Low | High |
| Fresh paint | $50 to $150 per room | Low to Medium | Very High |
| Layered lighting addition | $100 to $200 | Low | Very High |
| Under-cabinet LED lighting | $30 to $80 | Low | High |
| Bathroom mirror replacement | $80 to $250 | Low | Very High |
| Ceiling-height curtains | $50 to $150 | Low | High |
| Quality bedding upgrade | $80 to $200 | Very Low | High |
| Counter tray styling | $15 to $40 | Very Low | Medium |
These tips from the mipimprov home improvement tips by myinteriorpalace approach apply across rooms and deliver disproportionate visual improvement relative to their cost.
Fresh paint in the primary living areas
Fresh paint in a current, cohesive color transforms how a home feels before you address anything else. Faded, dated, or scuffed walls communicate neglect even in otherwise well-maintained homes. The cost is $50 to $150 per room in materials for a DIY application.
Switch to warm LED bulbs throughout
Changing from cool or daylight-temperature bulbs to warm white bulbs in the 2700K range costs $20 to $40 for a complete room and immediately transforms atmosphere from institutional to inviting. This is the lowest-cost improvement with the widest impact across the entire home.
Replace switch plates and outlet covers
Yellow, cracked, or mismatched switch plates are the kind of detail that registers as neglect without most people being able to identify why a room feels slightly off. Replacing them consistently throughout the home costs $30 to $60 and takes a screwdriver and an afternoon.
The mipimprov home improvement tips by myinteriorpalace consistently return to the same practical wisdom. Targeted, intentional improvement almost always outperforms scattered accumulation. Know the primary weakness of each room before spending anything. Address it fully before moving to secondary improvements.
Start with lighting and paint. Add hardware and fixture updates. Layer in organizational improvements. Then address the larger investments in the rooms where they will deliver the greatest daily return. That sequence, followed consistently, produces genuinely better homes over time without requiring renovation-level budgets.
If this guide helped you identify where to start, take a look at our related articles on how to choose interior paint colors that work in any light and the best budget home upgrades with the highest visual impact. Both give you the practical next steps for your home improvement journey.
They are practical home improvement insights covering lighting, color, furniture, fixtures, and room upgrades focused on targeted changes that produce real, lasting results rather than generic product accumulation.
Improving lighting quality. Layered warm lighting with floor lamps, table lamps, and a dimmable overhead creates a fundamentally different atmosphere than any furniture or decor at the same cost.
Fresh paint, cabinet hardware, bathroom mirror replacement, and ceiling-height curtains. Combined for under $600, these four produce results that look far more expensive than they are.
Address the biggest weakness in your most-used room first and complete it fully before moving on. One well-executed change outperforms several partial improvements across multiple rooms.
Most tips here are DIY-friendly, including painting, hardware, LEDs, and curtains. Electrical, structural, and plumbing work should always go to licensed professionals.
Update when something genuinely bothers you or when preparing to sell or host. Small seasonal refreshes like new textiles or plants keep spaces feeling current without structural changes.